

5 Steps to Polish a Watch Clasp Without Blurring Logos for Collectors
Yes, you can safely polish a watch clasp at home, but the method depends entirely on the finish. Mirror surfaces respond to progressive polishing compounds and light hand pressure, while brushed or satin clasps need grain-matched abrasives to blend rather than erase scratches. Skip the DIY approach on plated metal, deep gouges, or engraved logos; those need a professional. Start with the right tools and a clean surface.
TL;DR:
- Polishing a clasp requires matching the original finish, with mirror surfaces needing fine compounds and satin finishes requiring grain-matched abrasives.
- Always clean and inspect the clasp thoroughly before polishing, checking for damage or plating loss to prevent worsening issues.
- Use small, controlled passes starting with the finest abrasive that effectively removes scratches, and avoid over-polishing to preserve the clasp’s original look.
- Mask logos and hallmarks with tape and work in the direction of existing grain to prevent damage to delicate details during repair.
- For deep gouges, plating loss, or structural damage, professional refinishing remains the safest choice over DIY methods.
Table of Contents
- Tools and materials that produce safe, collector-friendly results
- Clean and inspect the clasp before you polish
- Step-by-step method for restoring mirror-polished clasps
- Step-by-step method for repairing or matching a brushed/satin clasp finish
- Masking and micro-protection techniques for hallmarks and sharp edges
- Damage assessment, common mistakes, and when to stop
- Raymond Jenkins’ checklist and AWCI best-practice highlights
- What collectors get wrong about clasp polishing
- ChronoCare polishing kits and when to choose them
- Sources
- FAQ
Tools and materials that produce safe, collector-friendly results
The gap between a clean repair and a ruined clasp usually comes down to what is in your hand. A jeweler working on a mirror-polished lug uses the same logic you should apply at your kitchen table: start soft, go slow, and never grab an abrasive stronger than the damage requires.
Before touching metal, gather what actually matters:
- Microfiber cloths, a soft-bristle brush, and peg wood or Rodico for lifting grime out of link gaps
- A non-abrasive polishing cream or jeweler’s rouge for mirror finishes
- Wet or dry sandpaper in the 600 to 2000 grit range, plus Scotch-Brite pads for satin or brushed surfaces
- A wooden backing block, low-tack masking tape, and, optionally, a low-speed buffing wheel with a felt pad
- Gloves, eye protection, and strong, even lighting so you can actually see what you are doing
Every one of these tools solves a specific problem. Peg wood clears debris that would otherwise scratch the metal further during polishing. Wooden backing keeps sandpaper flat so it does not round an edge that was originally sharp. A low-speed buffing wheel, used carelessly, can round an edge or blur a logo in seconds, so treat it as the last tool you reach for, not the first.
Clean and inspect the clasp before you polish
Polishing over dirt is one of the fastest ways to make a small scratch worse. Trapped grime acts like grit paper against soft metal, so cleaning always comes first.
- Open or partially disassemble the clasp where the design allows, so you can reach the hinge and link gaps.
- Wash it in warm water with a mild detergent, using a soft brush to work loose any buildup, then rinse and dry it completely.
- Inspect the piece under strong light: look for plating wear, deep gouges, bent links, or loose pins, and stop here if you find any of them.
- Check the friction points, since AWCI’s clasp guidance notes that a refurbished clasp needs to stay clean, functional, and free of visible tool marks, with lubricated pivots and secured screws.
Residue left in a link gap does not just look bad. According to the same AWCI guidance, leftover oils and dirt can act as an abrasive under polishing pressure, cutting deeper scratches than the one you started with. A bracelet link cleaning checklist is worth following closely if your clasp has several tight-fitting links, since grime hides in exactly the spots you are about to polish.
Step-by-step method for restoring mirror-polished clasps
Mirror finishes forgive almost nothing. A single wrong pass with the wrong grit leaves a hairline you can see from across the room, so the entire method depends on working from coarse to fine in small, controlled stages.
- Start with the finest abrasive that will actually remove the scratch, never the strongest one available.
- Test on an inconspicuous section, like the underside of a link, before working on a visible face.
- Use small circular motions with light, even pressure, then switch to a consistent single direction as the scratch fades.
- Move to a non-abrasive polishing cream once the metal feels smooth under a fingernail, buffing with a microfiber cloth.
- If you use a low-speed buffing wheel, keep the felt pad small, the speed low, and contact time short, since sustained pressure near a logo or a beveled edge can round both.
Check your progress under angled light every few passes rather than polishing continuously. A scratch that looks gone under flat light often reappears once you tilt the clasp, which tells you whether to stop or keep going.
Pro Tip: Wipe the clasp with a dry microfiber cloth between every grit change, since leftover compound from a coarser stage will contaminate the finer polish and create swirl marks.
Finish by removing every trace of compound from hinges, pivots, and screw heads. A watch polishing cream formulated for light scratch removal is built for exactly this stage, where you need enough abrasive action to erase hairlines without cutting into the surrounding shine. Leaving residue in a hinge is a common way a cosmetic fix turns into a mechanical problem days later.
Step-by-step method for repairing or matching a brushed/satin clasp finish
Brushed and satin finishes are built from thousands of parallel micro-scratches running in one direction, and the entire repair depends on matching that direction before you touch the metal.
- Study the existing grain under strong light to identify its direction and width across the clasp and adjacent links.
- Back a Scotch-Brite pad or fine sandpaper with a stiff, flat surface. A clasp guide from Italian Watch Spotter points out that a rigid backing keeps the abrasive flat and prevents it from cutting into edges the way freehand sanding does.
- Work in short, straight strokes that follow the original grain, checking progress every few passes rather than sanding continuously.
- Compare the repaired section against neighboring links constantly, since the same guide notes that novices frequently over-sand and change the character of the finish rather than blend it.
- Clean off metal dust with a soft brush and microfiber cloth once the grain looks uniform.
The goal is blending, not erasing. A satin finish that has been sanded until the scratch disappears completely often looks flatter or shinier than the metal around it, which is more noticeable than the original flaw. A professional bracelet finishing guide walks through this blending logic in more detail if your clasp has a mix of brushed and polished surfaces.
Pro Tip: Sand in the same direction as the clasp’s long axis rather than across it, since a cross-grain pass is one of the fastest ways to expose a fresh scratch line under a logo.
Masking and micro-protection techniques for hallmarks and sharp edges
Logos and stamped hallmarks are the most fragile parts of any clasp, since they sit only a fraction of a millimeter deep and disappear the moment you sand or buff over them directly.
- Cover any engraved logo or hallmark with low-tack masking tape before you start, and back the surrounding metal with wood rather than sanding freehand.
- Blend around a logo instead of sanding across it, working the abrasive up to the edge of the tape and stopping there.
- If a logo already shows faint tool marks or shallow wear, that is a sign the metal around it has thinned, and a professional refinisher is the safer next step.
This is the point where patience matters more than technique. A partner guide comparing deployant and butterfly clasps explains how differently these mechanisms are built, which is worth understanding before you decide how much surface area around a logo you can safely work without risking the mechanism underneath.
Damage assessment, common mistakes, and when to stop
Not every scratch belongs to a DIY fix. Deep gouges that catch a fingernail, visible plating loss, bent links, or a hallmark that has already lost detail are all signals to stop and call a professional rather than keep polishing.
Cost is often the deciding factor. A jeweler’s refinishing service typically runs higher than a DIY kit, but it also corrects damage that home tools cannot, particularly plating restoration or structural repair on bent links. A DIY kit makes sense for light surface scratches on solid metal; it does not make sense once plating is compromised, since more polishing only removes more of the thin protective layer.
Before committing to a full pass, always test on an inconspicuous spot, like the clasp’s underside, and judge the result under strong light before moving to a visible surface. A metal bracelet maintenance guide covers the longer-term care routine that keeps a freshly polished clasp from needing this kind of repair again so soon.

Raymond Jenkins’ checklist and AWCI best-practice highlights
The American Watchmakers-Clockmakers Institute’s refinishing course teaches that successful case and bracelet refinishing depends on understanding metallurgy and using standardized techniques that preserve the original case geometry. That single point separates a careful hobbyist from someone who accidentally reshapes a clasp while trying to shine it.
A workable checklist for anyone attempting this at home: clean thoroughly, test on a hidden spot, mask every logo and hallmark, work progressively from the gentlest abrasive that works, and lubricate every hinge and pivot before reassembly. Skipping the lubrication step is a common oversight. As AWCI notes, a cosmetically finished clasp with dry pivots is still an unfinished job, since dry friction points invite wear and noise almost immediately.

A collector’s polishing guide covers this same sequence with more detail on judging when a scratch is shallow enough to remove versus when it has already cut past the plating.
What collectors get wrong about clasp polishing
Most advice on this topic treats polishing as a cosmetic fix, and that framing causes more damage than any single grit choice. The real skill is knowing how much metal you are removing and whether the clasp can afford to lose it, which is a metallurgy question dressed up as a cleaning task.
The overrated part of this whole process is the buffing wheel. Enthusiasts reach for it because it looks professional, but a felt pad at the wrong speed rounds edges and blurs logos faster than almost any hand tool. The underrated part is patience with grain matching on brushed finishes, since a satin clasp that gets over-polished into a semi-gloss sheen is arguably more visible, and more value-damaging, than the scratch it replaced.
If you take one thing from this, prioritize restraint over results. A clasp with a faint, honest scratch retains more value than one with a rounded edge or a blurred hallmark from an overzealous polish.
— Raymond Jenkins
ChronoCare polishing kits and when to choose them
Buying separate compounds, backing blocks, and cloths from different sources adds cost and guesswork that a single formulated kit avoids. The Ultimate Watch Polishing & Cleaning Kit pairs a polishing cream formulated for metal watch surfaces with the cleaning tools needed to prep the clasp beforehand, so you are not mixing products of unknown compatibility on a piece you care about.
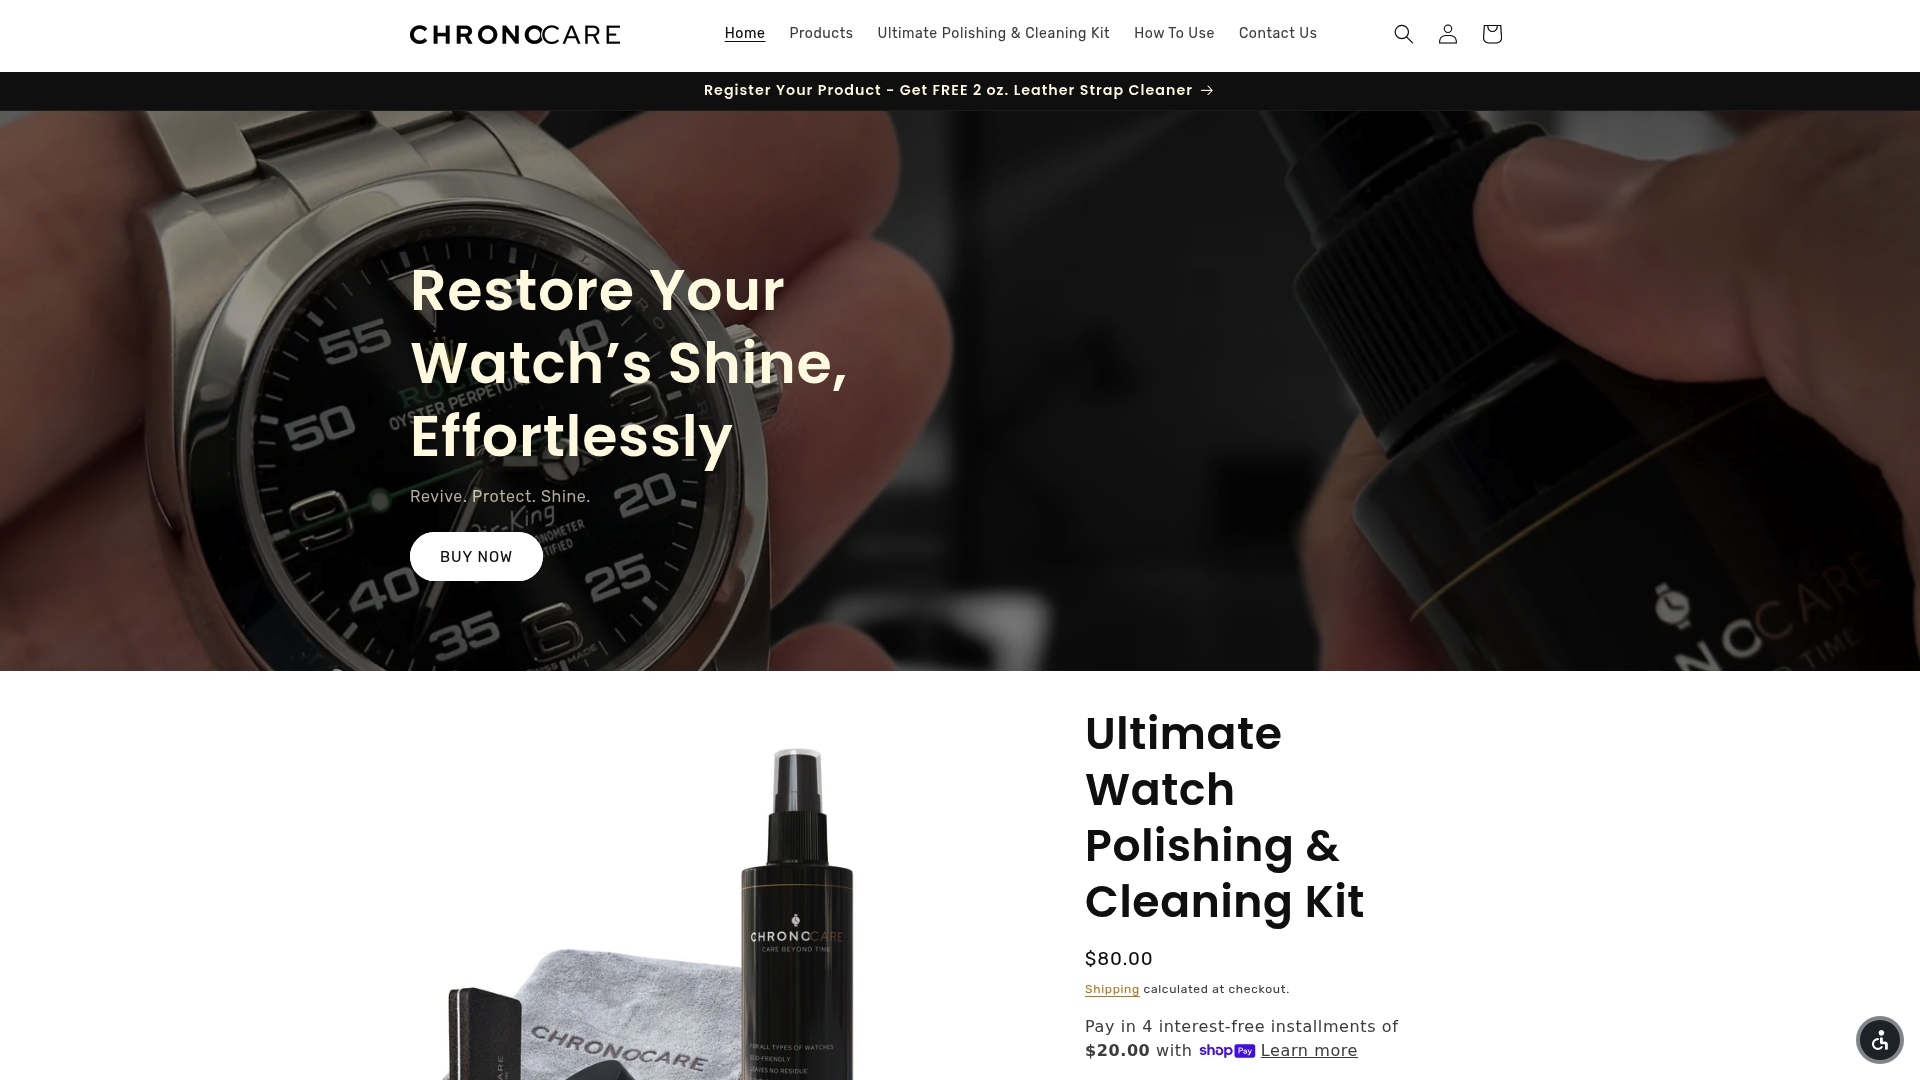
A kit like this fits light surface scratches on solid metal clasps with a finish you can identify and match. It is not the right choice for plated metal, deep gouges, or a clasp with structural damage, where a professional refinisher remains the safer route.
- The kit includes a polishing formula suited to both mirror and satin surfaces
- It pairs with the Ultimate Watch Cleaning Kit for the preparation stage covered earlier
- The products are backed with a satisfaction guarantee for buyers unsure about first-time use
If you are not sure which finish your clasp has or whether it is a candidate for DIY work, reach out to ChronoCare’s support team before you start, or browse the full range at Shopchronocare.
Sources
For readers who want to go deeper than a single article, a few sources cover the technical side in more detail than any blog post can.
FAQ
How do I polish a watch strap?
A metal strap or bracelet follows the same rules as the clasp: mirror links need progressive polishing compound, while brushed links need grain-matched abrasives backed by a flat surface. Leather straps should never be polished with metal compounds and instead need a dedicated leather cleaner.
How much does a jeweler charge to polish a watch?
Professional refinishing costs vary by shop, piece complexity, and whether plating restoration is involved, and no single industry-wide rate applies. Ask a certified refinisher for a quote before committing, since plating repair typically costs more than a simple polish.
Is it okay to polish a watch?
Light polishing is generally fine on solid metal clasps and cases with shallow scratches, provided you match the original finish and avoid logos and edges. Plated pieces, deep gouges, and antique or vintage cases are better left to a professional, since removing too much metal can permanently change the case shape.
What should I use to polish a watch?
For mirror finishes, use a non-abrasive polishing cream or jeweler’s rouge applied with light pressure and a microfiber cloth. For brushed or satin finishes, use fine sandpaper or a Scotch-Brite pad backed by a rigid block, working in the same direction as the existing grain.