

Fix Micro Scratches on Your Watch by Crystal Type Without Power Tools
Yes, many micro scratches can be reduced or removed at home, but the right method depends entirely on your crystal. Acrylic crystals respond well to hand polishing. Mineral glass has limited DIY options. Sapphire usually needs a professional. Skip power tools, keep the crown pushed in, and avoid anything abrasive near an anti-reflective coating until you know what you are working with.
TL;DR:
- Acrylic crystals respond well to hand polishing with toothpaste, Polywatch, and Micro-Mesh, but deeper scratches require sanding and professional help.
- Mineral glass can be lightly polished with diamond paste for superficial marks, but deep or sapphire scratches rarely respond to DIY techniques and need expert intervention.
- Metal cases and bracelets can be blended with fine abrasive pads or polishing cream, provided the finish type and edges are carefully masked to avoid altering the original shape.
- Always identify the crystal material before attempting repair, as acrylic tolerates abrasives better than mineral or sapphire, which pose a higher risk of damage.
- Stop DIY polishing if scratches catch a fingernail, appear cloudy, or if the damage involves water-resistance seals or coatings, and seek professional service instead.
Table of Contents
- Quick methods summary: what works for micro scratches at a glance
- Identify the crystal and finish before you touch it
- DIY crystal polishing for acrylic: toothpaste, Polywatch, and Micro-Mesh
- Mineral and sapphire crystals: limited DIY options and when to stop
- Reducing micro-scratches on stainless steel or titanium cases and bracelets
- When to stop and take your watch to a professional
- Aftercare and prevention to stop micro-scratches returning
- Why this advice reflects experienced watch care practice
- The ChronoCare kit that matches this guide’s steps
- Sources
- FAQ
Quick methods summary: what works for micro scratches at a glance
Before picking up any compound, match the method to the material and the depth of the damage. Going in with the wrong approach is how a light scratch becomes a permanent one.
- Clean first: wipe away grit and oils so you are not grinding dust into the surface while polishing.
- Toothpaste or Polywatch: the gentlest fix, effective only on light acrylic scratches.
- Micro-Mesh sanding: for deeper acrylic scratches that toothpaste cannot touch.
- Fine diamond paste: a limited option for very light marks on mineral glass.
- Metal polishing cream: blends micro-scratches on stainless steel or titanium cases and bracelets.
- Professional service: the only real option for sapphire crystals and any damage tied to water resistance or AR coatings.
Each step up this list carries more risk. AR coatings and water-resistant seals are the two things you can permanently damage if you push past what your crystal can take.
Identify the crystal and finish before you touch it
Every method in this guide depends on knowing what your crystal is made of, so check before you polish anything.
Acrylic (sometimes called hesalite) feels warm to the touch, scratches easily with a fingernail, and is common on older or budget watches. Mineral glass is harder, cooler, and resists a fingernail but still scratches with keys or metal tools. Sapphire is the hardest of the three, resists nearly everything short of another sapphire or diamond, and is standard on higher-end modern watches. When in doubt, check your model’s specification sheet rather than guessing from feel alone.

The material matters because Polywatch and toothpaste-style compounds work by abrading a soft surface, which acrylic tolerates and sapphire does not. Testing an unfamiliar abrasive directly on the crystal, rather than a hidden edge first, is a common way people damage an AR coating before they even find out what material they are dealing with.
DIY crystal polishing for acrylic: toothpaste, Polywatch, and Micro-Mesh
Acrylic is the one crystal type where a determined owner can get genuinely close to a professional result.
Start by cleaning the crystal and case, then close the crown and mask the bezel and case edges with tape so stray compound does not dull the metal finish.
- Apply a small dab of non-gel toothpaste or Polywatch to a soft cloth and rub in tight circular motions for one to two minutes, wiping and checking often.
- Repeat two or three times, letting the surface cool between passes; stop once the light scratch fades or after three attempts show no further change.
- If scratches remain, move to Micro-Mesh pads, starting with a coarse grit and progressing through finer grades in sequence, sanding the entire crystal surface rather than spot-treating so you do not create a low spot.
- Wipe pads clean between grits to avoid dragging coarser grit particles into a finer pass, which reintroduces scratches you just removed.
- Finish with a dedicated plastic polish, such as Meguiar’s PlastX, worked in with a clean cloth to bring back optical clarity.
- Inspect under a magnifier or strong light before deciding you are done; faint haze usually means one more light pass with the plastic polish.
Pro Tip: Sand the whole crystal, not just the scratch. A partial pass creates a shallow dip that catches light differently from the rest of the surface, and it is more noticeable than the original scratch.
The most common mistake is jumping straight to sanding when toothpaste would have worked, or stopping the Micro-Mesh sequence early and leaving visible haze that only the higher grits remove.
Mineral and sapphire crystals: limited DIY options and when to stop
Mineral glass gives you a narrower path than acrylic, and sapphire gives you almost none.
For very light marks on mineral glass, a small amount of very fine diamond paste, a very fine grade, applied with a soft cloth in short circular passes, can reduce a superficial mark. Mask the case and bezel first, work in short intervals, and check progress constantly rather than committing to one long session.
- Sapphire’s hardness makes it highly scratch resistant, but that same hardness means home abrasives generally cannot cut into it the way they cut acrylic or mineral glass.
- Any AR coating on a sapphire crystal is more fragile than the sapphire itself, and abrasive contact can strip or cloud it permanently.
- Deep scratches on mineral or sapphire crystals rarely respond to home polishing and often need diamond-based professional polishing or a full crystal swap.
- Pushing a DIY method past a light mark risks turning a small cosmetic issue into a hazy, unevenly worn surface that looks worse than the original scratch.
If a mineral-glass scratch does not respond to two or three careful diamond-paste passes, or if you are looking at a sapphire crystal at all, crystal replacement through a watchmaker is the more reliable route.
Reducing micro-scratches on stainless steel or titanium cases and bracelets
Metal cases and bracelets scratch just as easily as crystals, and the fix depends on whether the surface is brushed or polished.
Brushed finishes have fine, directional lines running one way across the metal. Polished finishes are mirror smooth with no visible grain. Mixing up the technique between the two is the fastest way to make a case look worse than before you started.
- On brushed surfaces, use a fine abrasive pad and stroke only in the direction of the existing grain, matching the original brush lines instead of crossing them.
- On polished surfaces, apply a small amount of metal polishing cream with a soft cloth in gentle circular motions, working one small section at a time.
- Mask bezel edges and lug lines with tape before you start, since rounded edges lose their crisp shape quickly under repeated polishing.
- Stop as soon as the scratch blends in, rather than continuing to polish for a fully mirror-flat result.
Pro Tip: Polish in short sessions and check your progress under bright light every thirty seconds or so. Over-polishing removes more metal than you can see happening in real time, and it is the main way a light micro-scratch fix turns into a visibly reshaped edge.
Repeated heavy polishing thins the metal and can soften sharp case lines over years of use, which is part of why watchmakers treat case refinishing as a skill with its own training track rather than a quick cosmetic touch-up.
When to stop and take your watch to a professional
Some damage is simply outside what a home kit or cloth can fix safely, and knowing the line matters more than knowing the techniques.
Stop and see a professional if a scratch catches a fingernail rather than just catching light, if you notice any cloudiness or flaking that suggests AR coating damage, if there is a chip rather than a scratch, or if the case has been opened or the seals disturbed in a water-resistant watch. Professional refinishing draws on training in metallurgy, variable-speed polishing equipment, and water-resistance testing that lets a watchmaker restore a case or crystal without distorting its shape or compromising its seals.
Before handing over your watch, ask what testing the shop does after refinishing, whether the work carries any warranty, and how they plan to preserve the original case geometry rather than just removing material until the scratch disappears. A shop that cannot answer those questions clearly is worth reconsidering.
Aftercare and prevention to stop micro-scratches returning
A polish job only holds up if your daily habits protect it afterward.
Store the watch in a soft-lined case or a dedicated tray rather than tossing it in a drawer with keys or loose coins, and wipe it down with a microfiber cloth after wear to clear off sweat and grit before it has a chance to grind against the surface. Manufacturer guidance for luxury watches recommends removing protective films before use and wiping away moisture and dirt promptly, since both buildup and rough handling contribute to wear over time. Skip a metal watch on your dominant wrist during manual work like gardening or moving furniture, and save polishing compounds for when scratches actually show rather than as a routine habit, since frequent buffing removes material every time.

Reading up on safe cleaning steps before polishing helps you build a routine that catches grit before it becomes a scratch. A light annual check from a watchmaker, even without visible damage, catches wear on seals and coatings before it turns into a costly repair.
Why this advice reflects experienced watch care practice
This guide leans conservative on purpose. The stop-lines for sapphire, AR coatings, and water resistance come from the same caution that formal case and bracelet refinishing training is built around: material removal has to be controlled, or you trade one problem for a worse one.
Some watch care brands formulate cleaning and polishing products for careful, at-home use, providing guided instructions rather than guesswork. Readers who want the material science behind why acrylic, mineral, and sapphire behave so differently under abrasives can find more detail in ChronoCare’s material guide to crystal polishing.
— Raymond Jenkins
The ChronoCare kit that matches this guide’s steps
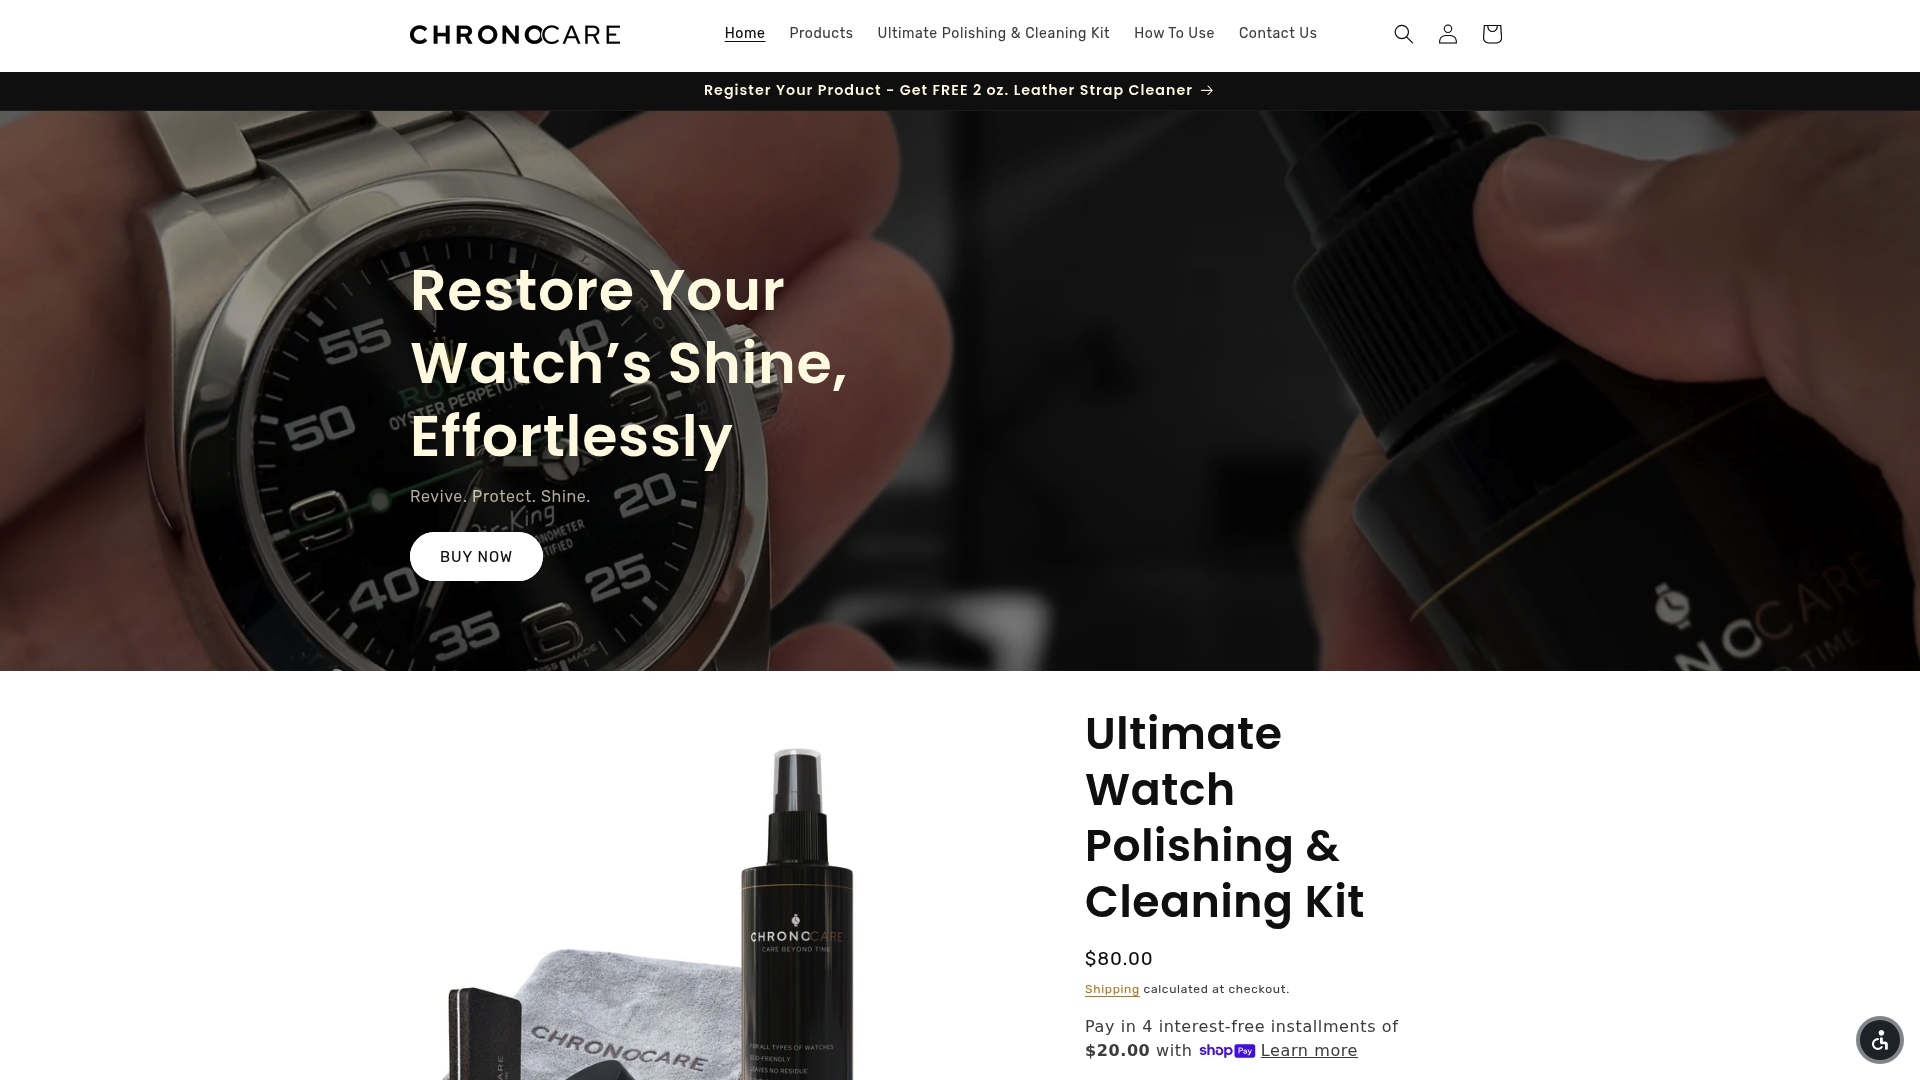
If you would rather not assemble toothpaste, Micro-Mesh pads, and metal polish separately, there are product lines available that cover the same steps in one place. The Ultimate Watch Cleaning Kit handles the prep work this guide recommends before any polishing starts, and the Ultimate Watch Polishing & Cleaning Kit is built for acrylic crystals and light metal polishing without needing separate compounds for each step.
- Use the cleaning kit first, every time, to clear grit before any abrasive touches the surface.
- Use the polishing and cleaning kit for acrylic crystals and light case scratches, following the same light-pressure approach outlined above.
- Reach for the Watch Polishing Cream specifically for blending scratches on stainless steel or titanium.
- Skip all three and see a watchmaker for deep sapphire damage or anything involving AR coating loss.
For a longer collector’s approach to preserving case value while polishing, ChronoCare’s polishing guide walks through the same logic in more depth.
Sources
- Polishing an acrylic watch crystal
- How to Remove Scratches from a Watch – OD’s Jewellers
- Watch 175: Case and bracelet refinishing
- Seiko care and instructions (manufacturer guidance)
FAQ
Can micro scratches be removed?
Light micro scratches on acrylic crystals can often be removed at home with toothpaste, Polywatch, or a Micro-Mesh sanding sequence. Mineral glass responds to very fine diamond paste only on light marks, while sapphire crystals and deep scratches on any material usually need professional polishing or replacement.
Can small scratches be removed from stainless steel?
Yes, light micro-scratches on stainless steel cases and bracelets can usually be blended out with a fine abrasive pad on brushed finishes or a metal polishing cream on polished surfaces. Match the technique to the finish and mask the bezel edges first to avoid rounding sharp lines.
Can I buff scratches on my watch?
You can buff light scratches on acrylic crystals and stainless steel surfaces using non-gel toothpaste, Polywatch, or a dedicated metal polishing cream in short, gentle passes. Avoid power tools and household abrasives like baking soda, since these can worsen the surface or damage protective coatings.
Can a jeweler get scratches out of a watch?
A jeweler or watchmaker can remove deeper scratches through diamond polishing, case refinishing, or crystal replacement, using equipment and training that home methods cannot match. This route is the safer choice for sapphire crystals, chipped surfaces, or any scratch near a water-resistant seal.