

Breitling Aligned 4 Step Weekly Routine to Clean a Breitling Bracelet
The safest way to clean a Breitling bracelet is a mild liquid soap, a soft toothbrush, and a light, low-pressure rinse under lukewarm tap water, followed by thorough drying with an absorbent cloth. This works for stainless steel and rubber. Leather is a different animal entirely: never soak it, and blot it dry immediately if it gets splashed. Specialized watch cleaning kits are built around this exact routine.
TL;DR:
- Regular wiping with a microfiber cloth prevents most surface oils and grit from dulling the bracelet’s appearance.
- Weekly cleaning with lukewarm water and mild liquid soap, using gentle brushing and immediate drying, maintains the bracelet’s shine and prevents buildup.
- Deep cleaning involves soaking and brushing links, but polishing should be limited to flat, polished surfaces to avoid damaging finishes.
- Rubber straps are best cleaned with gentle brushing and water, while leather straps require no water contact and should be blotted if splashed.
- Home cleaning routines should be supplemented with professional service every two to six years, especially for issues like water intrusion or significant wear.
Table of Contents
- Quick Daily and Weekly Cleaning Routine For Your Breitling Bracelet
- Deep Cleaning a Metal Bracelet Step by Step
- How to Clean Rubber Straps Without Ruining Them
- Why Leather Straps Need a Completely Different Approach
- Drying Your Bracelet Correctly Matters More Than You Think
- When Should You Stop Cleaning at Home and Call a Professional?
- ChronoCare’s Take on Balancing Home Care With Professional Service
- The Home Kit Built Around This Exact Routine
- Where This Guidance Comes From
- Sources
Quick Daily and Weekly Cleaning Routine For Your Breitling Bracelet
A Breitling bracelet collects skin oils, sweat, and dust every day you wear it, and that film is what eventually dulls the finish and works its way into the links. Two simple habits keep it looking sharp without any risk to the watch.
Daily maintenance takes about ten seconds. Wipe the bracelet down with a clean microfiber cloth before you take the watch off at night. This alone removes most of the surface oil and grit that would otherwise sit against the metal or rubber for hours.
Weekly maintenance is where the real cleaning happens. Follow this sequence:
- Mix a few drops of mild liquid soap into a small bowl of lukewarm water.
- Dip a soft toothbrush into the solution and work it gently into the links, clasp, and any crevices where grime hides.
- Rinse under a thin, gentle stream of tap water. Breitling’s own care guidance specifically recommends a soft toothbrush and liquid soap under low water pressure for this exact reason.
- Dry immediately with an absorbent cloth, working into every gap between links.
A few things belong on your “never” list:
- Dish scrubbing pads or anything abrasive
- Household solvents, degreasers, or oven cleaners
- Ultrasonic cleaners, which should generally be avoided unless specifically recommended by a professional watchmaker for your model
If you want a more granular, link-by-link approach, the Watch Bracelet Link Cleaning Checklist breaks the process down further for collectors who like to be thorough.
Deep Cleaning a Metal Bracelet Step by Step
Weekly upkeep handles the day-to-day grime. But every few months, especially if you wear the watch heavily or live somewhere humid, a deeper clean pulls out the buildup that a quick brush-and-rinse misses.
Start with preparation. If you’re comfortable removing the bracelet from the case, do it. That eliminates any risk to the crystal or dial entirely. If you’d rather leave it attached, protect the case and crystal with painter’s tape or a soft cloth wrap before you get anything wet.
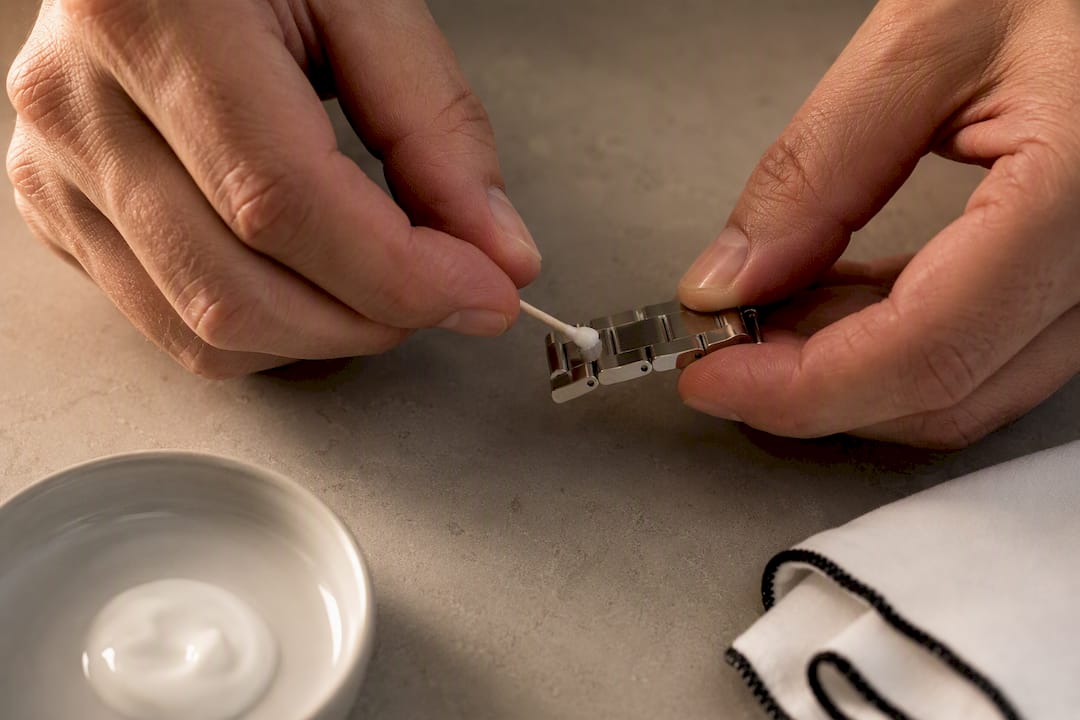
You’ll want a short list of tools: a soft toothbrush, mild neutral soap, a small bowl, microfiber cloths, cotton swabs for tight spots, a toothpick for clearing debris around pins, and a polishing cream like ChronoCare’s Watch Polishing Cream if the bracelet needs more than a wash.
Here’s the sequence that gets the best results with the least risk:
- Let the links soak briefly, no more than a minute or two, in lukewarm soapy water.
- Brush gently along the link edges and around the clasp mechanism, where dead skin cells and sweat residue tend to accumulate.
- Rinse under a thin stream of tap water, never a faucet blasted on full or a pressure washer.
- Dry each link individually with a microfiber cloth, then let the whole bracelet air-dry for a few minutes before reassembly or reattachment.
- If you’re polishing, apply the cream sparingly and only to flat, polished surfaces.
That last step deserves a warning of its own. Satin or brushed finishes and AR coated crystals do not respond well to polishing creams. The abrasive action that brings a shine back to a polished link can scratch a brushed surface or dull a coating permanently. If the finish starts to look different than it did five minutes ago, stop. Heavy plating wear or deep scratches are a job for a professional polisher, not a home fix.
Pro Tip: Test any polishing cream on a hidden inner link edge first, and work in small sections so you’re never covering more surface than you can control. Cape Cod cloths and similar products are popular among collectors for exactly this kind of light touch up work, but they’re unforgiving of overuse.
How to Clean Rubber Straps Without Ruining Them
Rubber straps handle water better than anything else Breitling makes, but they’re not indestructible. Chlorine, salt, and sunscreen all break down rubber over time if you let residue sit.
Stick to these materials:
- Mild liquid soap
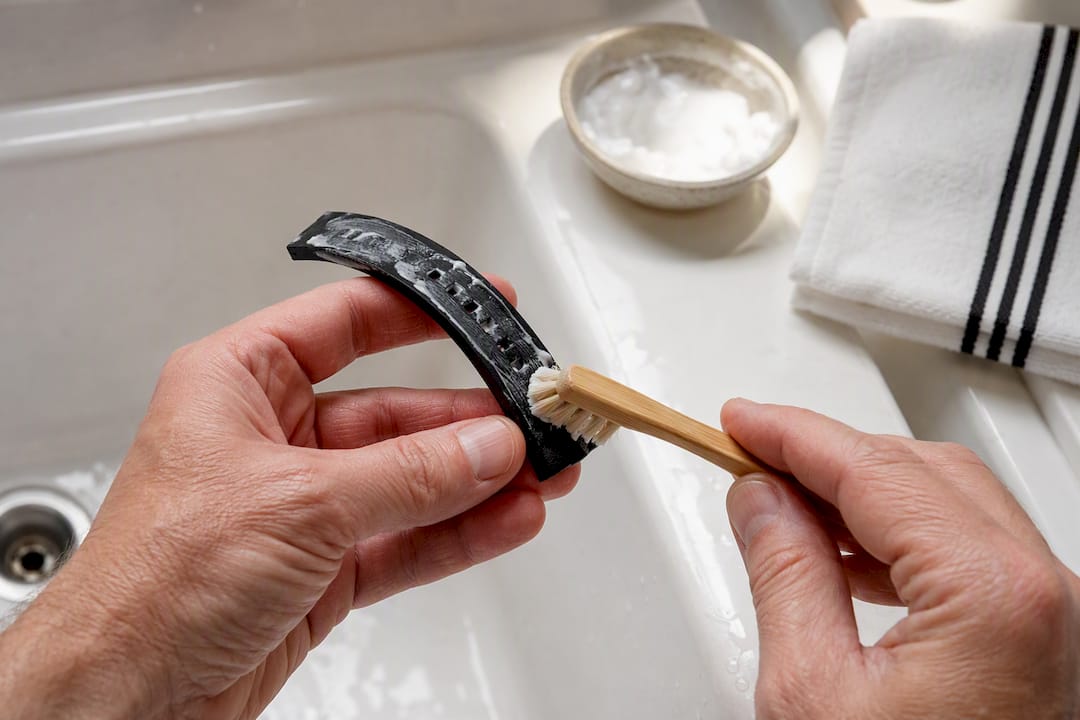
- A soft brush (an old toothbrush works fine)
- A neutral pH, non-bleach cleaner for stubborn marks
- Nothing with acetone or other solvents. They attack the rubber compound and can cause it to stiffen or discolor.
The method is simple. Brush the strap gently on both sides, rinse it completely under running water so no soap residue remains, and let it air dry away from direct sunlight or any heat source. A radiator or a sunny windowsill will accelerate cracking faster than daily wear ever will.
If you’re dealing with odor or discoloration that a basic wash won’t touch, a baking soda paste rinsed off after a few minutes often lifts it. Some owners use a manufacturer-recommended rubber cleaner for tougher cases. Once a rubber strap shows cracking, stiffness, or a chalky surface texture, cleaning won’t reverse it. That’s a replacement, not a cleaning problem.
Why Leather Straps Need a Completely Different Approach
Leather is the one bracelet material where the rules flip entirely. Everything that works for metal and rubber, soap, water, brushing, will damage a leather strap.
If your Breitling has a leather strap, treat water as the enemy, not a cleaning tool:
- Never submerge or soak leather, even briefly.
- If it gets splashed, blot it immediately with an absorbent, lint-free cloth. Don’t rub.
- Skip the soap. It strips natural oils and leaves the leather stiff and prone to cracking.
- Let it dry naturally, away from direct heat, which causes leather to shrink and warp.
- For serious staining or water damage, a specialist leather-cleaning product or a professional strap replacement is a better bet than improvising.
Breitling’s guidance is direct on this point: leather needs protection from water, perspiration, grease, and sun exposure, not active cleaning.
Pro Tip: If you’re heading to the pool, the beach, or anywhere water is likely, swap to a metal or rubber strap beforehand. It’s a five-minute change that saves a leather strap from a slow, irreversible decline.
Drying Your Bracelet Correctly Matters More Than You Think
Trapped moisture is where most bracelet problems start. Water that lingers between links or under the case back doesn’t just sit there, it promotes corrosion on steel components and creates the damp environment where skin irritation develops on contact points.
Dry the bracelet link by link with an absorbent cloth, and use cotton swabs to reach into hinge points and clasp mechanisms where a cloth can’t go. A short burst of low-pressure canned air can help clear out the last bit of moisture from tight spaces, but keep it brief. High-pressure air, like high-pressure water, can force moisture deeper into the case rather than out.
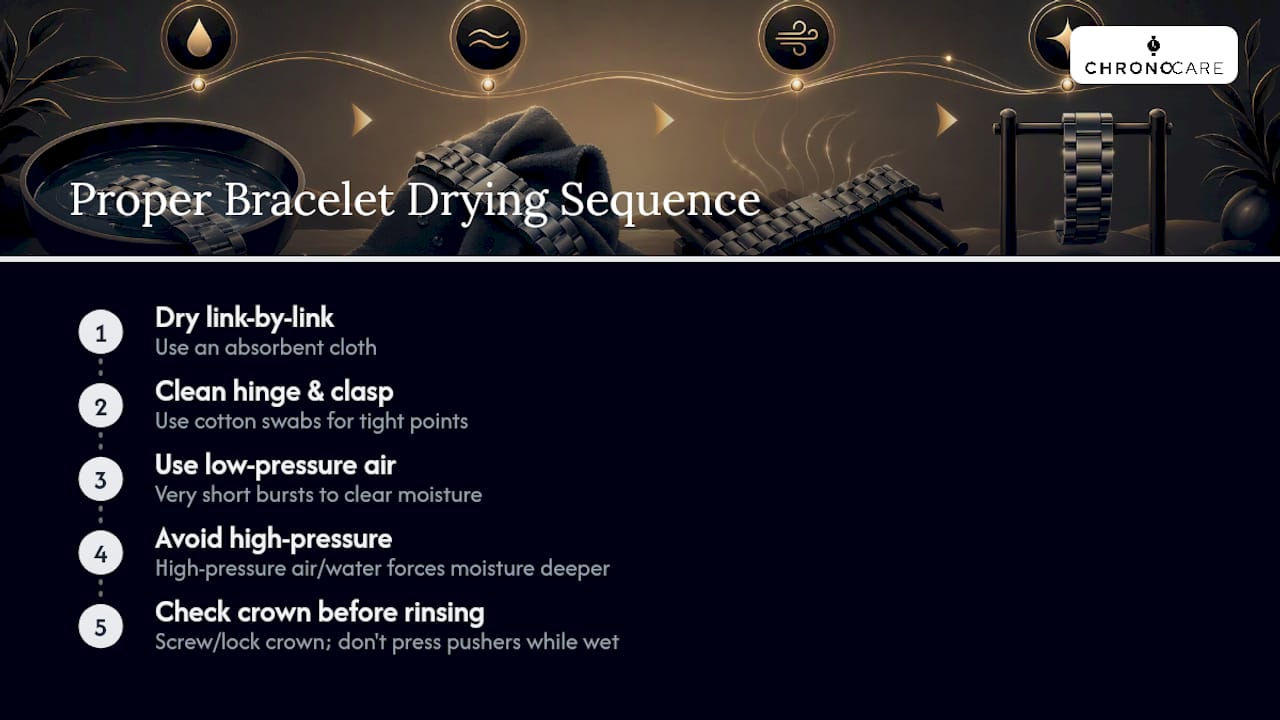
This is also the moment to think about water resistance. Breitling recommends rinsing immediately after any exposure to salt water or chlorinated pools, since both accelerate steel oxidation and can degrade gold over time. Before you rinse anything, confirm the crown is fully screwed down or locked, and never touch the crown or pushers while the watch is wet. If you swim or dive often, ask a service center about periodic water-resistance testing. Seals age even when the watch looks fine from the outside.
When Should You Stop Cleaning at Home and Call a Professional?
Home care handles routine grime. It doesn’t fix mechanical issues, and pushing past that line risks turning a cosmetic problem into an expensive one.
Watch for these red flags:
- Condensation or fogging visible under the crystal
- Any sign of water inside the case or movement
- Loose links, pins, or a clasp that doesn’t sit right
- Noticeable plating loss down to the base metal
- Any change in how the watch runs or winds
Beyond troubleshooting, Breitling recommends a maintenance service every two years, which includes seal replacement and a professional cleaning of the case and bracelet, with a complete service every four to six years covering full disassembly, movement servicing, and case polishing. A service center will test water resistance, replace worn seals, and refurbish the bracelet and case properly, work that goes well beyond what a toothbrush and soap solution can do at home.
ChronoCare’s Take on Balancing Home Care With Professional Service
Home cleaning and professional servicing aren’t competing approaches. They’re two halves of the same maintenance plan. Gentle, routine cleaning at home can help prevent corrosive buildup that makes professional work more invasive and expensive down the line.
Where we draw the line: polishing beyond light surface marks, seal replacement, and anything involving the movement belongs with an authorized service center. A well-formulated polishing cream can restore shine to a scuffed link. It can’t replace a worn seal or fix a clasp that’s lost its spring tension. Know which job you’re doing before you start.
— Raymond Jenkins
The Home Kit Built Around This Exact Routine
If you’d rather not assemble soap, brushes, and cloths piecemeal, the Ultimate Watch Cleaning Kit puts the entire routine described above into one box: a pH-neutral cleaner, soft brushes sized for links and clasps, and microfiber cloths for the drying step that matters more than most owners realize.
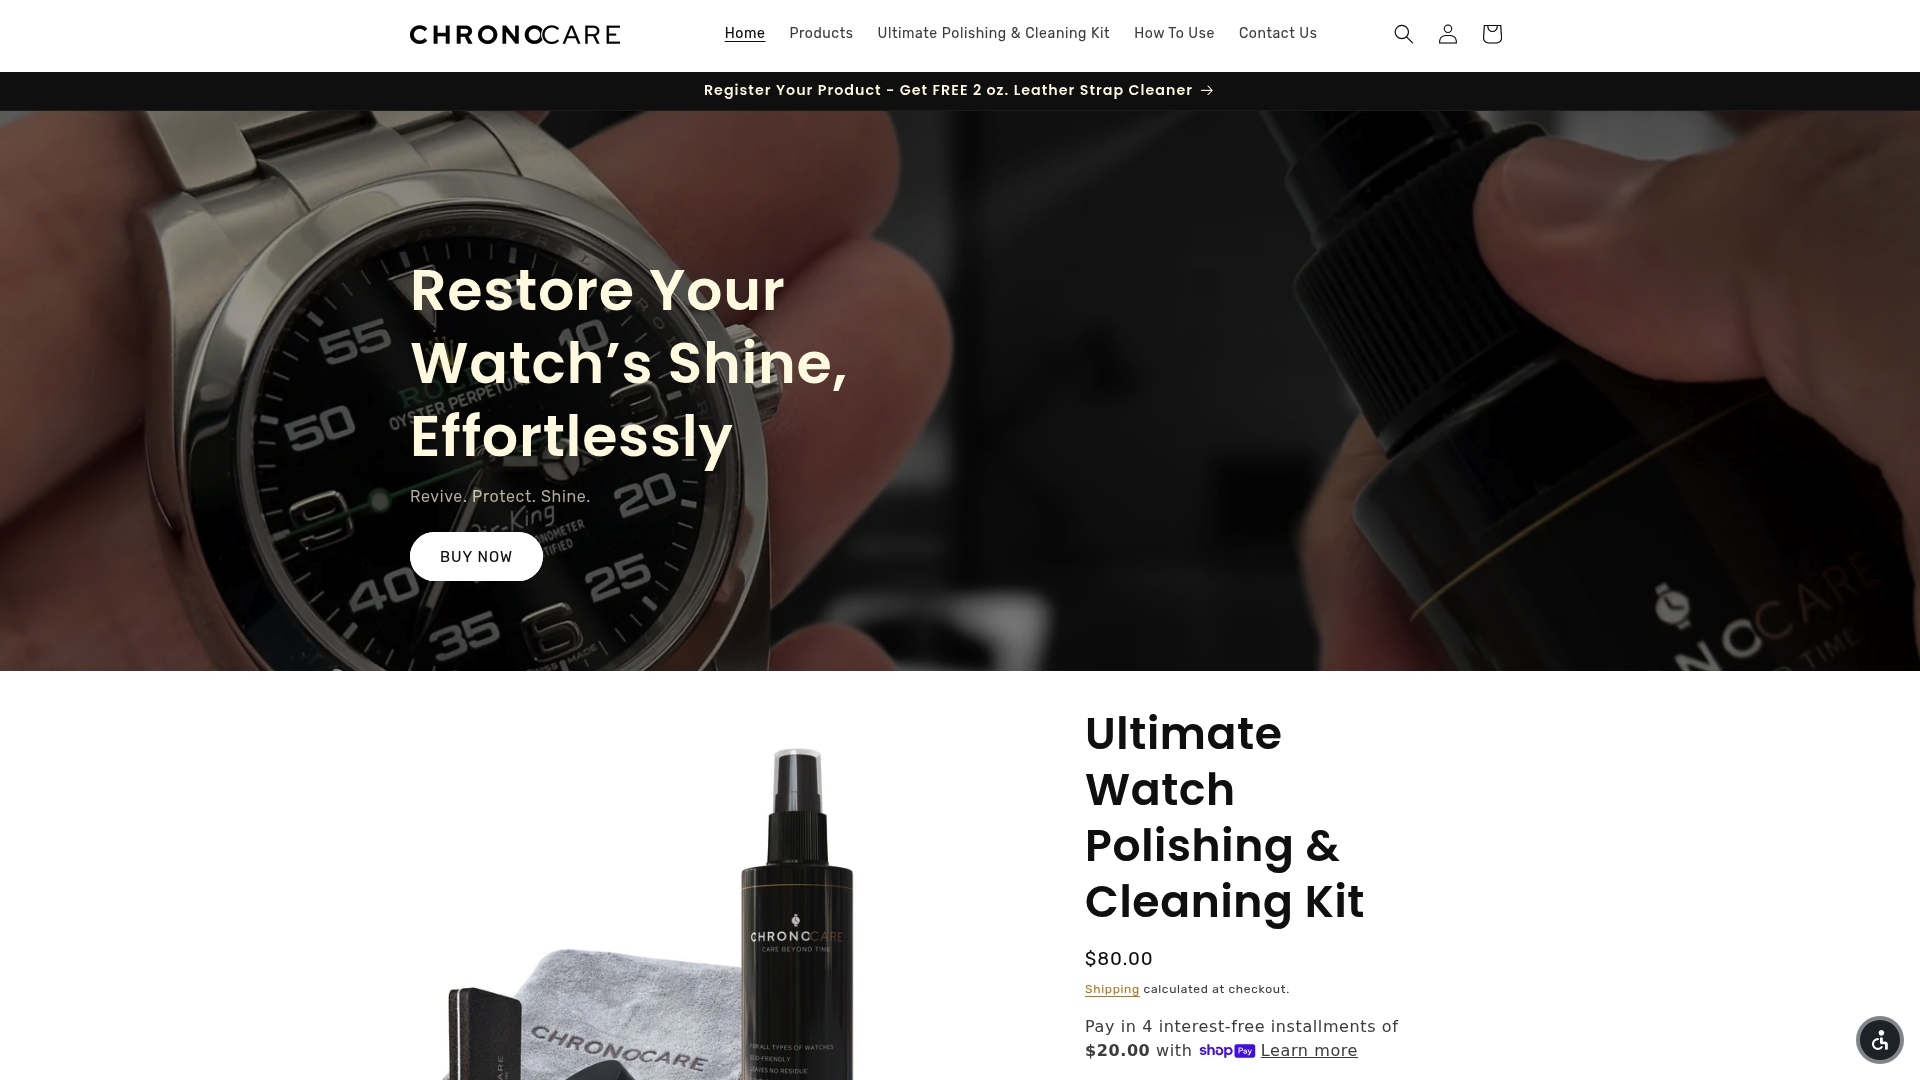
Every tool in the kit maps directly to a step in this guide. The cleaner replaces the mild soap solution, the brushes handle the crevice work a standard toothbrush does less precisely, and the microfiber cloths are lint-free, which matters when you’re drying between polished links. For owners who also want to address light surface scratches, the Ultimate Watch Polishing & Cleaning Kit adds a polishing compound formulated for metal watch surfaces, with the same caveat that applies throughout this guide: keep it off satin finishes and AR-coated crystals, and test it on a hidden edge first.
Formulated and built for collectors, the kit works on metal and rubber bracelets. It is not designed or recommended for leather straps, which still need the blot-and-air-dry approach outlined earlier. If your bracelet only needs a shine refresh rather than a full clean, the standalone Watch Polishing Cream is the lower-commitment option. Pick the kit that matches how much cleaning your bracelet actually needs, order it, and you’ll have everything this guide describes in one place the next time buildup starts to show.
Where This Guidance Comes From
The cleaning and maintenance recommendations in this guide follow Breitling’s own watch care instructions and service schedule guidance. For deeper procedural detail, see ChronoCare’s Metal Watch Bracelet Maintenance guide and professional finishing guide.